Framing a floating basement wall might sound like an intimidating task, but trust me, it’s not as scary as it seems. If you’re looking to add more functionality to your basement space, framing a floating wall is a game-changer. It’s a DIY project that can transform your basement into a livable area while giving you the flexibility to hide unsightly elements like pipes, wiring, and uneven walls. Whether you’re a seasoned handyman or a complete beginner, this guide will walk you through every step of the process.
You might be wondering, "What exactly is a floating basement wall?" Well, it’s essentially a freestanding wall that doesn’t connect to the ceiling or floor. This design allows for better soundproofing, moisture control, and easier access to utilities if needed. Plus, it gives your basement that polished, finished look without the hassle of permanent construction.
Before we dive into the nitty-gritty details, let’s quickly address why framing a floating basement wall is such a smart move. Not only does it increase the value of your home, but it also creates a more comfortable living space. So, whether you’re planning to turn your basement into a home office, a guest room, or even a gym, this project is worth every bit of effort. Ready to get started? Let’s go!
Read also:How Much Is Andrew Dice Clay Worth The Untold Story Of Fame Fortune And Resilience
Why Frame a Floating Basement Wall?
If you’re on the fence about framing a floating basement wall, here’s a quick rundown of the benefits. First off, it’s a cost-effective way to add structure to your basement without committing to a full renovation. Plus, it’s versatile—you can customize the height, width, and design to fit your specific needs. Another perk? It helps with moisture management by creating a buffer zone between the concrete floor and your finished wall.
Here’s the kicker: a floating wall can significantly improve sound insulation. If you’ve ever had the misfortune of hearing every single noise from upstairs in your basement, you know how annoying that can be. By framing a floating wall, you’re adding an extra layer of separation, which means fewer disturbances and a quieter space overall.
Understanding the Basics
Before you grab your tools, it’s essential to understand the basic principles behind framing a floating basement wall. Think of it as building a wall within a wall. The key is to ensure that the new wall doesn’t directly touch the existing ceiling, floor, or walls. This separation is what gives the wall its "floating" effect and helps with moisture and noise control.
Now, let’s break it down into simple terms. You’ll need to create a framework using wood or metal studs, attach it to the concrete floor using anchors, and then secure it in place with top plates. The top plates will sit just below the ceiling, leaving a small gap for airflow and flexibility. It’s all about balance and precision.
Tools and Materials You’ll Need
Before you jump into the project, make sure you have all the necessary tools and materials. Here’s a quick list to help you get started:
- Lumber (2x4s or 2x6s)
- Circular saw or hand saw
- Measuring tape
- Level
- Drill and screwdriver bits
- Screws (deck screws work great)
- Concrete anchors
- Stud finder
- Drywall (optional, depending on your finish)
Pro tip: Always measure twice and cut once. This will save you a ton of headaches down the line. And don’t forget to wear safety gear—gloves, goggles, and a dust mask are non-negotiable.
Read also:God Is Good Quotes Uplifting Words To Inspire Your Day
Choosing the Right Materials
When it comes to materials, quality matters. Opt for treated lumber if you’re concerned about moisture. If you’re going for a more modern look, consider metal studs—they’re lighter, easier to work with, and naturally resistant to moisture. Just remember, metal studs require different tools and techniques, so plan accordingly.
Step-by-Step Guide to Framing a Floating Basement Wall
Now that you’ve got your tools and materials ready, let’s dive into the step-by-step process of framing a floating basement wall. This section is packed with practical tips and tricks to help you tackle the project like a pro.
Step 1: Measure and Plan
Start by measuring the area where you want to install the floating wall. Use a stud finder to locate any existing studs or obstacles, and mark them clearly. Sketch out a rough plan on paper, noting the dimensions and any potential challenges. Trust me, this step will save you a lot of time and frustration later on.
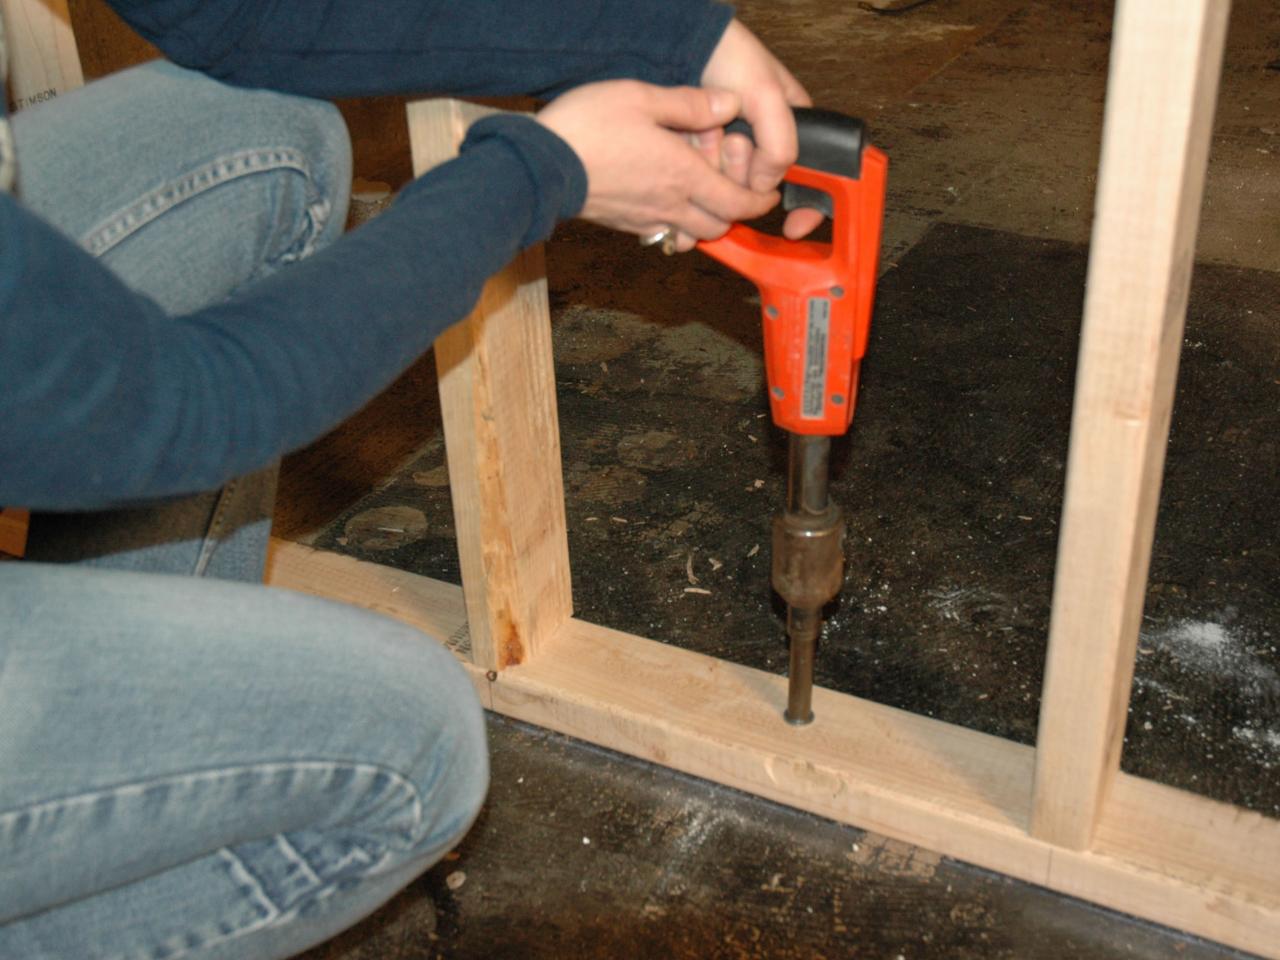
Step 2: Cut and Assemble the Bottom Plate
Using your circular saw, cut a piece of lumber to the desired length for your bottom plate. This will sit on the concrete floor and serve as the base of your wall. Drill pilot holes and secure the bottom plate to the floor using concrete anchors. Make sure it’s level before moving on.
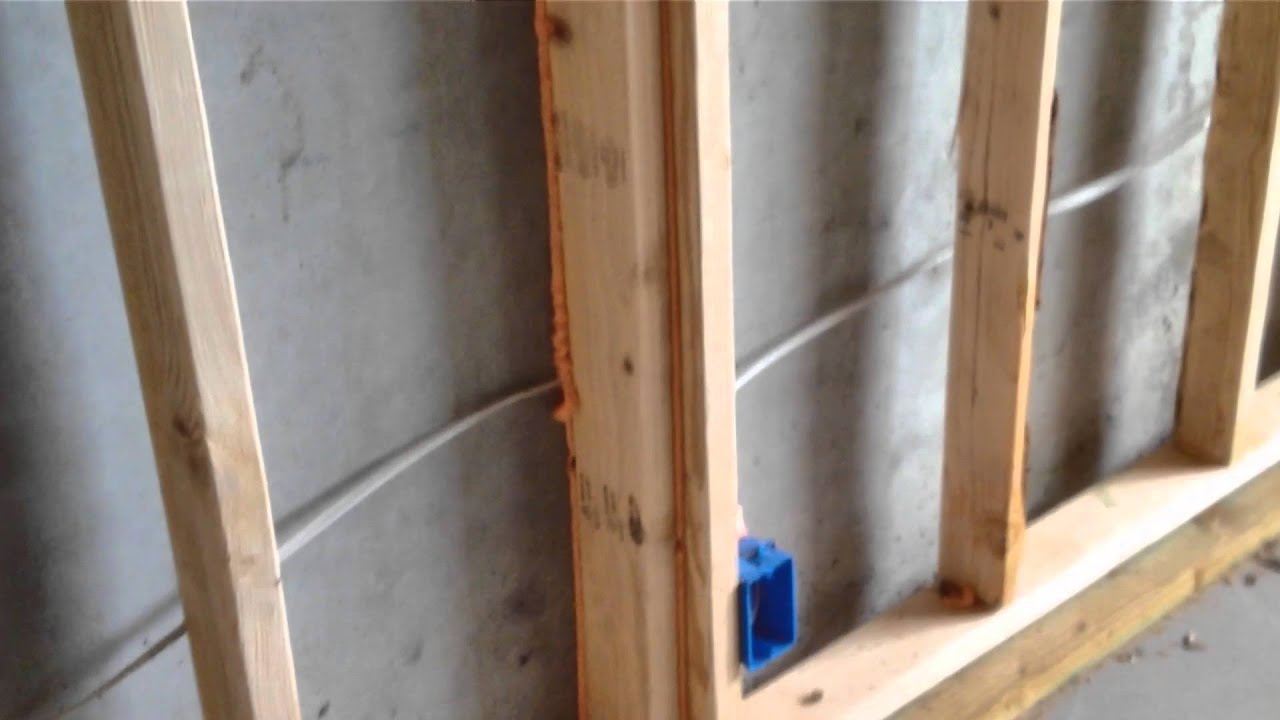
Step 3: Install the Studs
Next, cut your vertical studs to the desired height. Space them evenly, typically 16 inches on center, and attach them to the bottom plate using screws. Use a level to ensure each stud is perfectly plumb. This step is crucial for maintaining the structural integrity of your wall.
Step 4: Add the Top Plate
For the top plate, cut another piece of lumber to match the length of your wall. Attach it to the top of the studs, leaving a small gap between the top plate and the ceiling. This gap is what gives your wall its "floating" effect. Again, make sure everything is level and secure.
Step 5: Finish the Wall
Once the framework is in place, you can add drywall or any other finishing material of your choice. Don’t forget to insulate the wall if you’re planning to use it as a living space. Insulation will enhance both soundproofing and energy efficiency.
Tips and Tricks for Success
Here are a few insider tips to help you ace this project:
- Use shims to adjust the level of your bottom plate if the floor isn’t perfectly flat.
- Consider adding a moisture barrier between the concrete floor and the bottom plate to prevent water damage.
- Always double-check your measurements before cutting any lumber.
- Invest in a quality level—it’s worth the extra cost.
Remember, patience is key. Take your time and don’t rush the process. A well-built floating wall will last for years to come.
Common Mistakes to Avoid
Even the best of us make mistakes, but here are a few to watch out for:
- Not leaving enough space between the top plate and the ceiling.
- Using untreated lumber in a damp environment.
- Skipping the leveling process—this will lead to a wobbly wall.
- Forgetting to secure the bottom plate properly to the floor.
By avoiding these common pitfalls, you’ll ensure a smoother and more successful project.
Cost Considerations
Let’s talk money. Framing a floating basement wall is relatively affordable compared to other home improvement projects. On average, you can expect to spend anywhere from $500 to $1,500, depending on the size of the wall and the materials you choose. If you’re on a tight budget, consider using reclaimed lumber or shopping for deals at your local hardware store.
Don’t forget to factor in the cost of tools if you don’t already own them. While some tools are worth the investment, others can be rented for a fraction of the price.
DIY vs. Hiring a Pro
Should you tackle this project yourself, or is it better to hire a professional? That depends on your skill level and available time. If you’re comfortable with basic carpentry, go for it! But if you’re unsure or dealing with complex layouts, it might be worth consulting a professional to ensure everything is done correctly.
Maintenance and Longevity
Once your floating basement wall is up, maintenance is minimal. Just keep an eye out for any signs of moisture or damage, especially if you live in a humid climate. Regular inspections will help you catch potential issues early on and extend the life of your wall.
Pro tip: Consider adding a dehumidifier to your basement to maintain optimal humidity levels. This will not only protect your wall but also improve the overall air quality of your space.
Final Touches
With the framework in place, it’s time to add those finishing touches. Paint, wallpaper, or even decorative panels can transform your floating wall into a stunning feature of your basement. Get creative and make it your own!
Conclusion
Framing a floating basement wall is a rewarding project that can add value and functionality to your home. By following this step-by-step guide, you’ll be able to tackle the task with confidence and precision. Remember, the key to success is preparation, patience, and attention to detail.
So, what are you waiting for? Grab your tools and get started! And don’t forget to share your progress with us in the comments below. We’d love to hear about your experience and see how your floating wall turns out. Happy building!
Table of Contents
- Why Frame a Floating Basement Wall?
- Understanding the Basics
- Tools and Materials You’ll Need
- Step-by-Step Guide to Framing a Floating Basement Wall
- Tips and Tricks for Success
- Cost Considerations
- Maintenance and Longevity
- Conclusion